
Welcome to the Pizza Party! Woohoo!
Don’t forget that there are lots of sharp pieces included in sewing! It’s exciting! Please have an adult help you with this project. Always know where your needle is! Sewing takes patience and can sometimes take a long time. Find a comfortable spot to work, and be prepared to take breaks as you stitch! Be creative! Have fun! Experiment!

1. Cut out your paper pattern pieces. Try to cut as closely to the pattern line as possible. To cut the onion, fold the paper in half, and cut around the half circle. It helps to hold your onion up to the light when you fold the paper in half. Use the center of your onion piece as your black olive pattern. The mushroom can be cut as one piece as it is drawn in the pattern, or you can cut it into two pieces.


2. Cut out your fabric pieces. Place your pattern on the appropriate felt piece. Trace with a pen or pencil around each pattern piece. You can use a ruler to help draw your straight lines. Carefully cut out your felt along the line that you drew.


For your toppings, trace your pieces close to the edge so you can trace more than one of each veggie.

3. Start sewing! (Stitch instructions below!) First, sew your sauce pieces onto one of your crust pieces. You do not need to stitch along the long edges of the crust. When you put your pizza crusts together, you will stitch the cheese and sauce together along the edges. It can be helpful to pin or clip these toppings to the crust while you stitch.


To start sewing, carefully thread your needle eye (I like to get the end of my thread a little wet to help me.) Tie a knot at the long end of the thread. When you sew, make sure you hold onto the not-sharp end of the needed and the short of the thread well. For this project, always start by bringing your needle through the backside of your felt. There are three different hand stitches that I have used in this project. You can use whichever stitch you like!

*Running Stitch (beginner) – stitch in and out of the same fabric along the edge of that fabric.


*Whip Stitch (intermediate) – stitch in one fabric and down in another fabric.


*Blanket Stitch (advanced) – Bring needle up through the back (or middle depending on what part you are sewing), and bring your needle up through the top fabric. Bring your needle around the fabric and through the back, out of the middle of the two fabrics. Then, bring your needle down through the top again about a quarter of an inch away from your first stitch. Do not pull your thread tight all the way yet though. Your thread will start to form a loop, and you pull your needle up through that loop. Now you can pull your thread tight! After that, continue to repeat that stitch! Down through the top, out the back, up through the loop, and repeat.


OR
*Machine Stitch however you want!
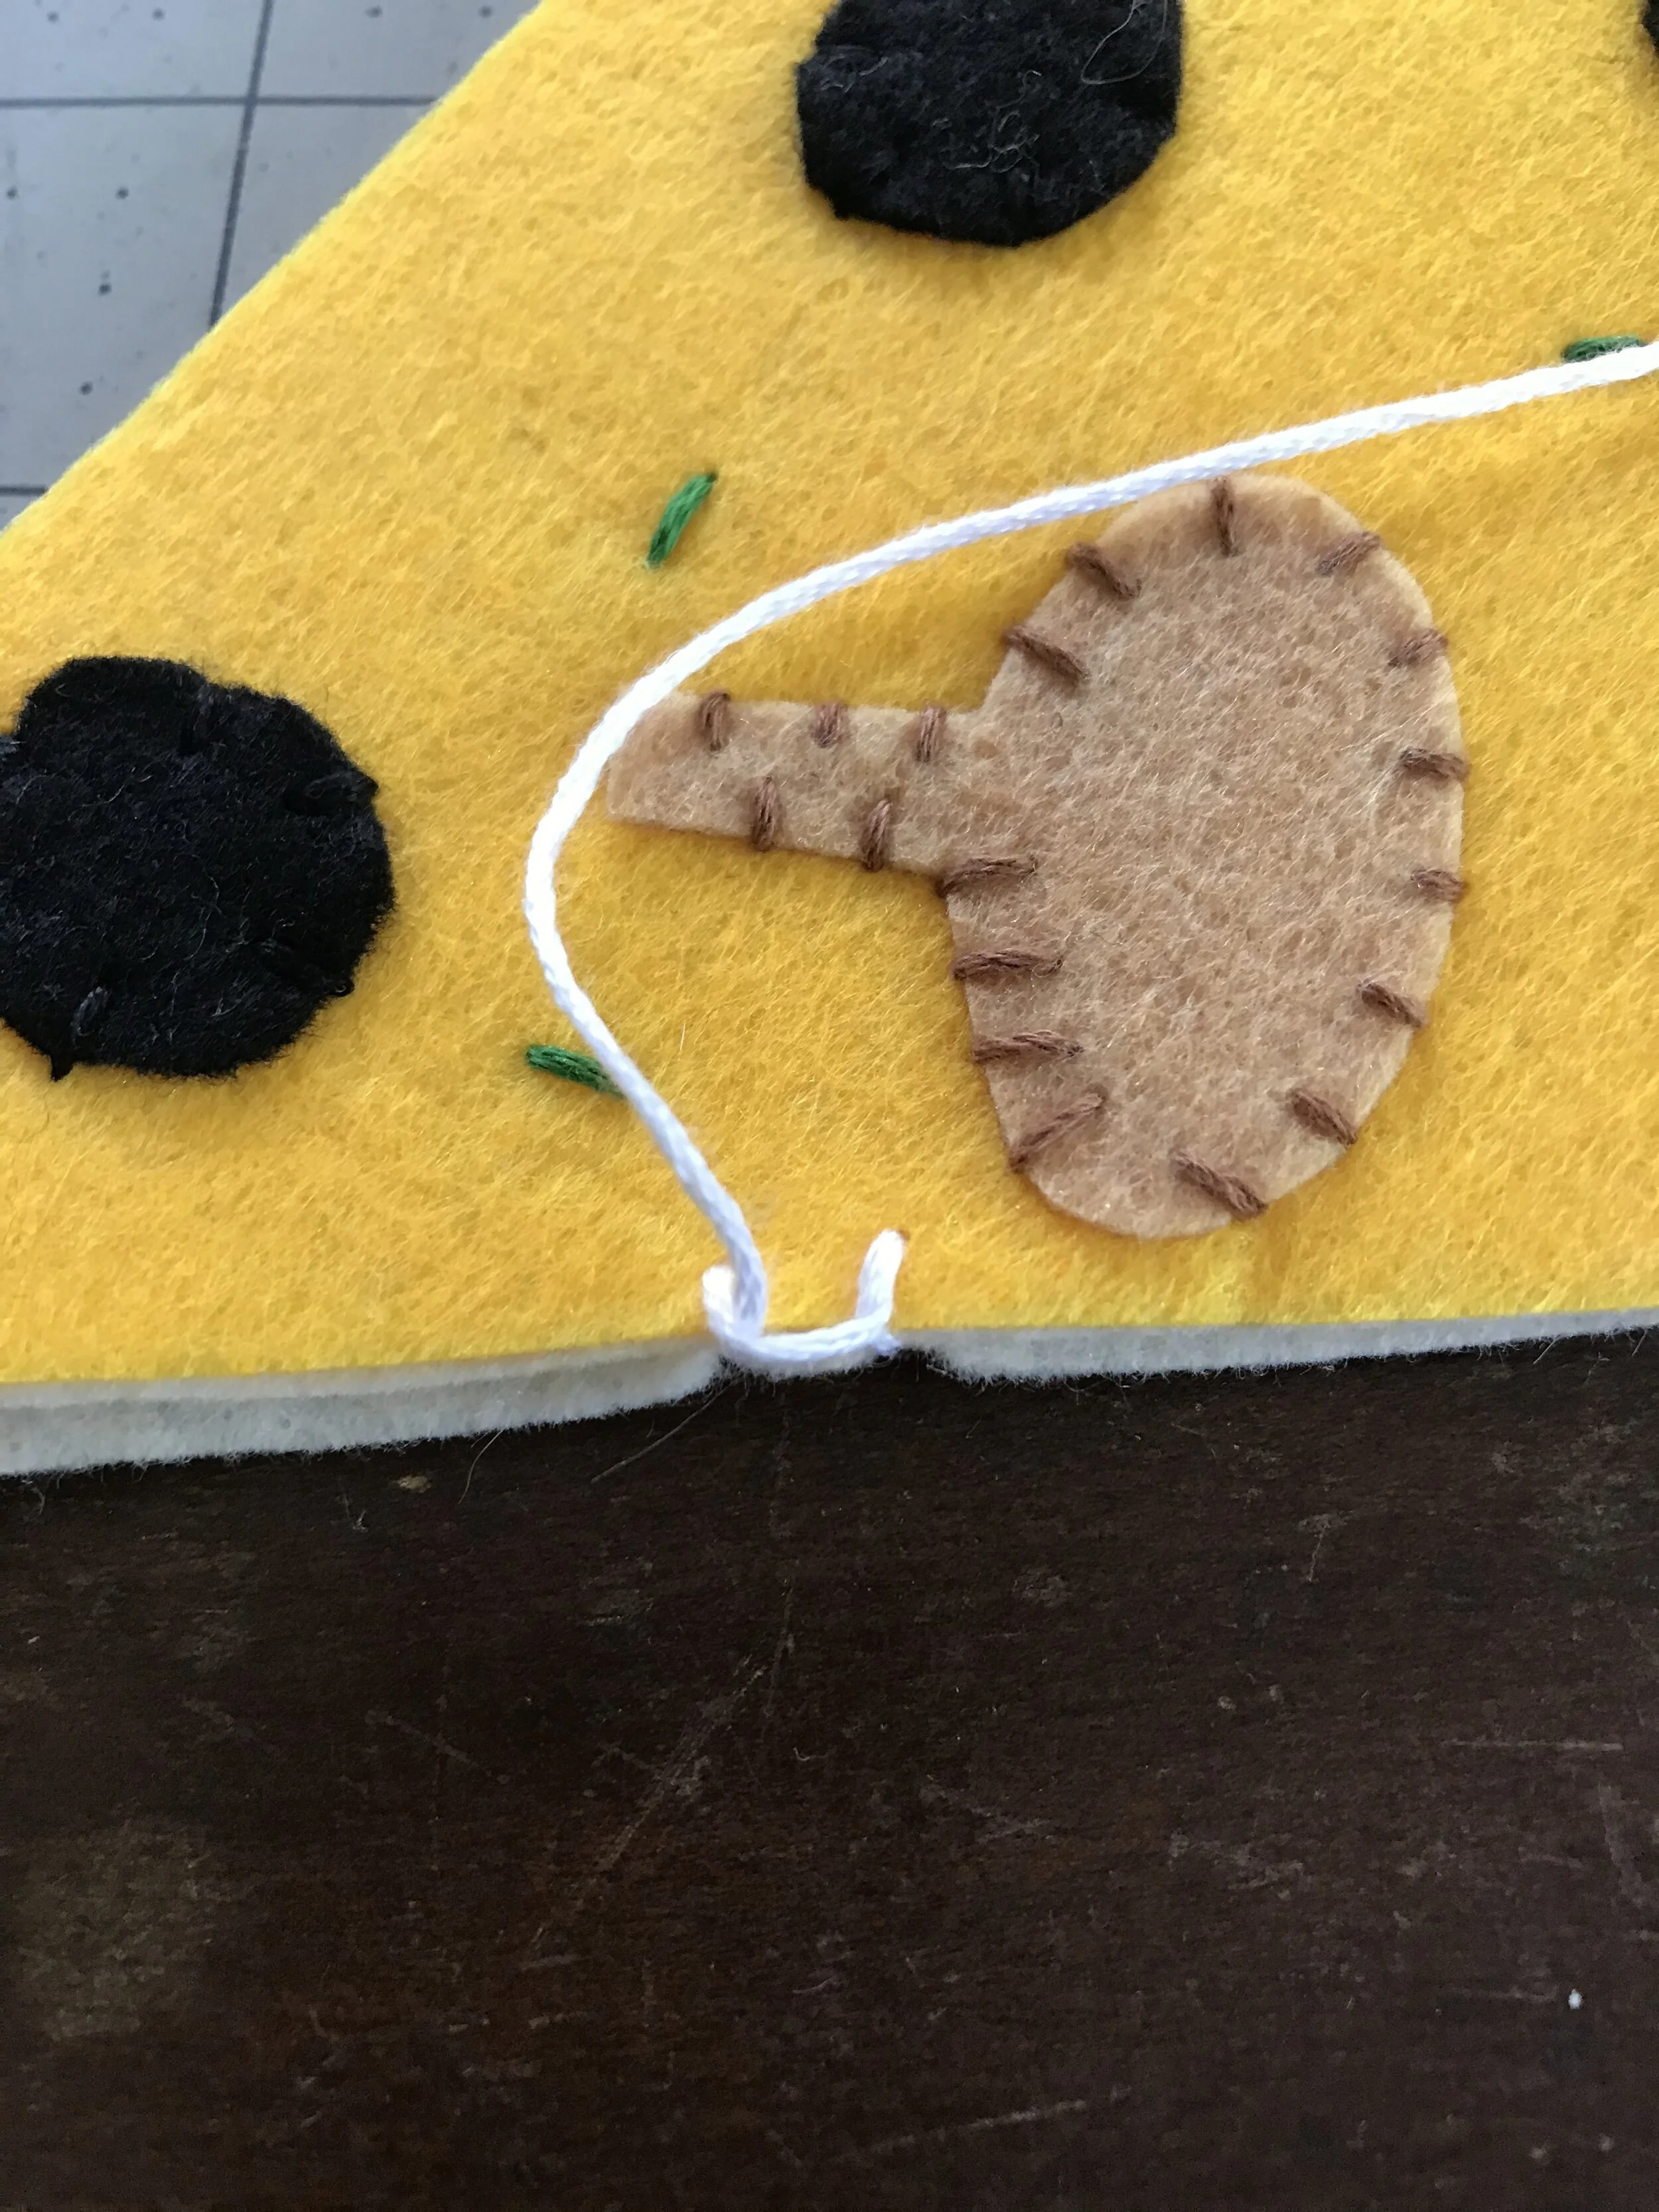
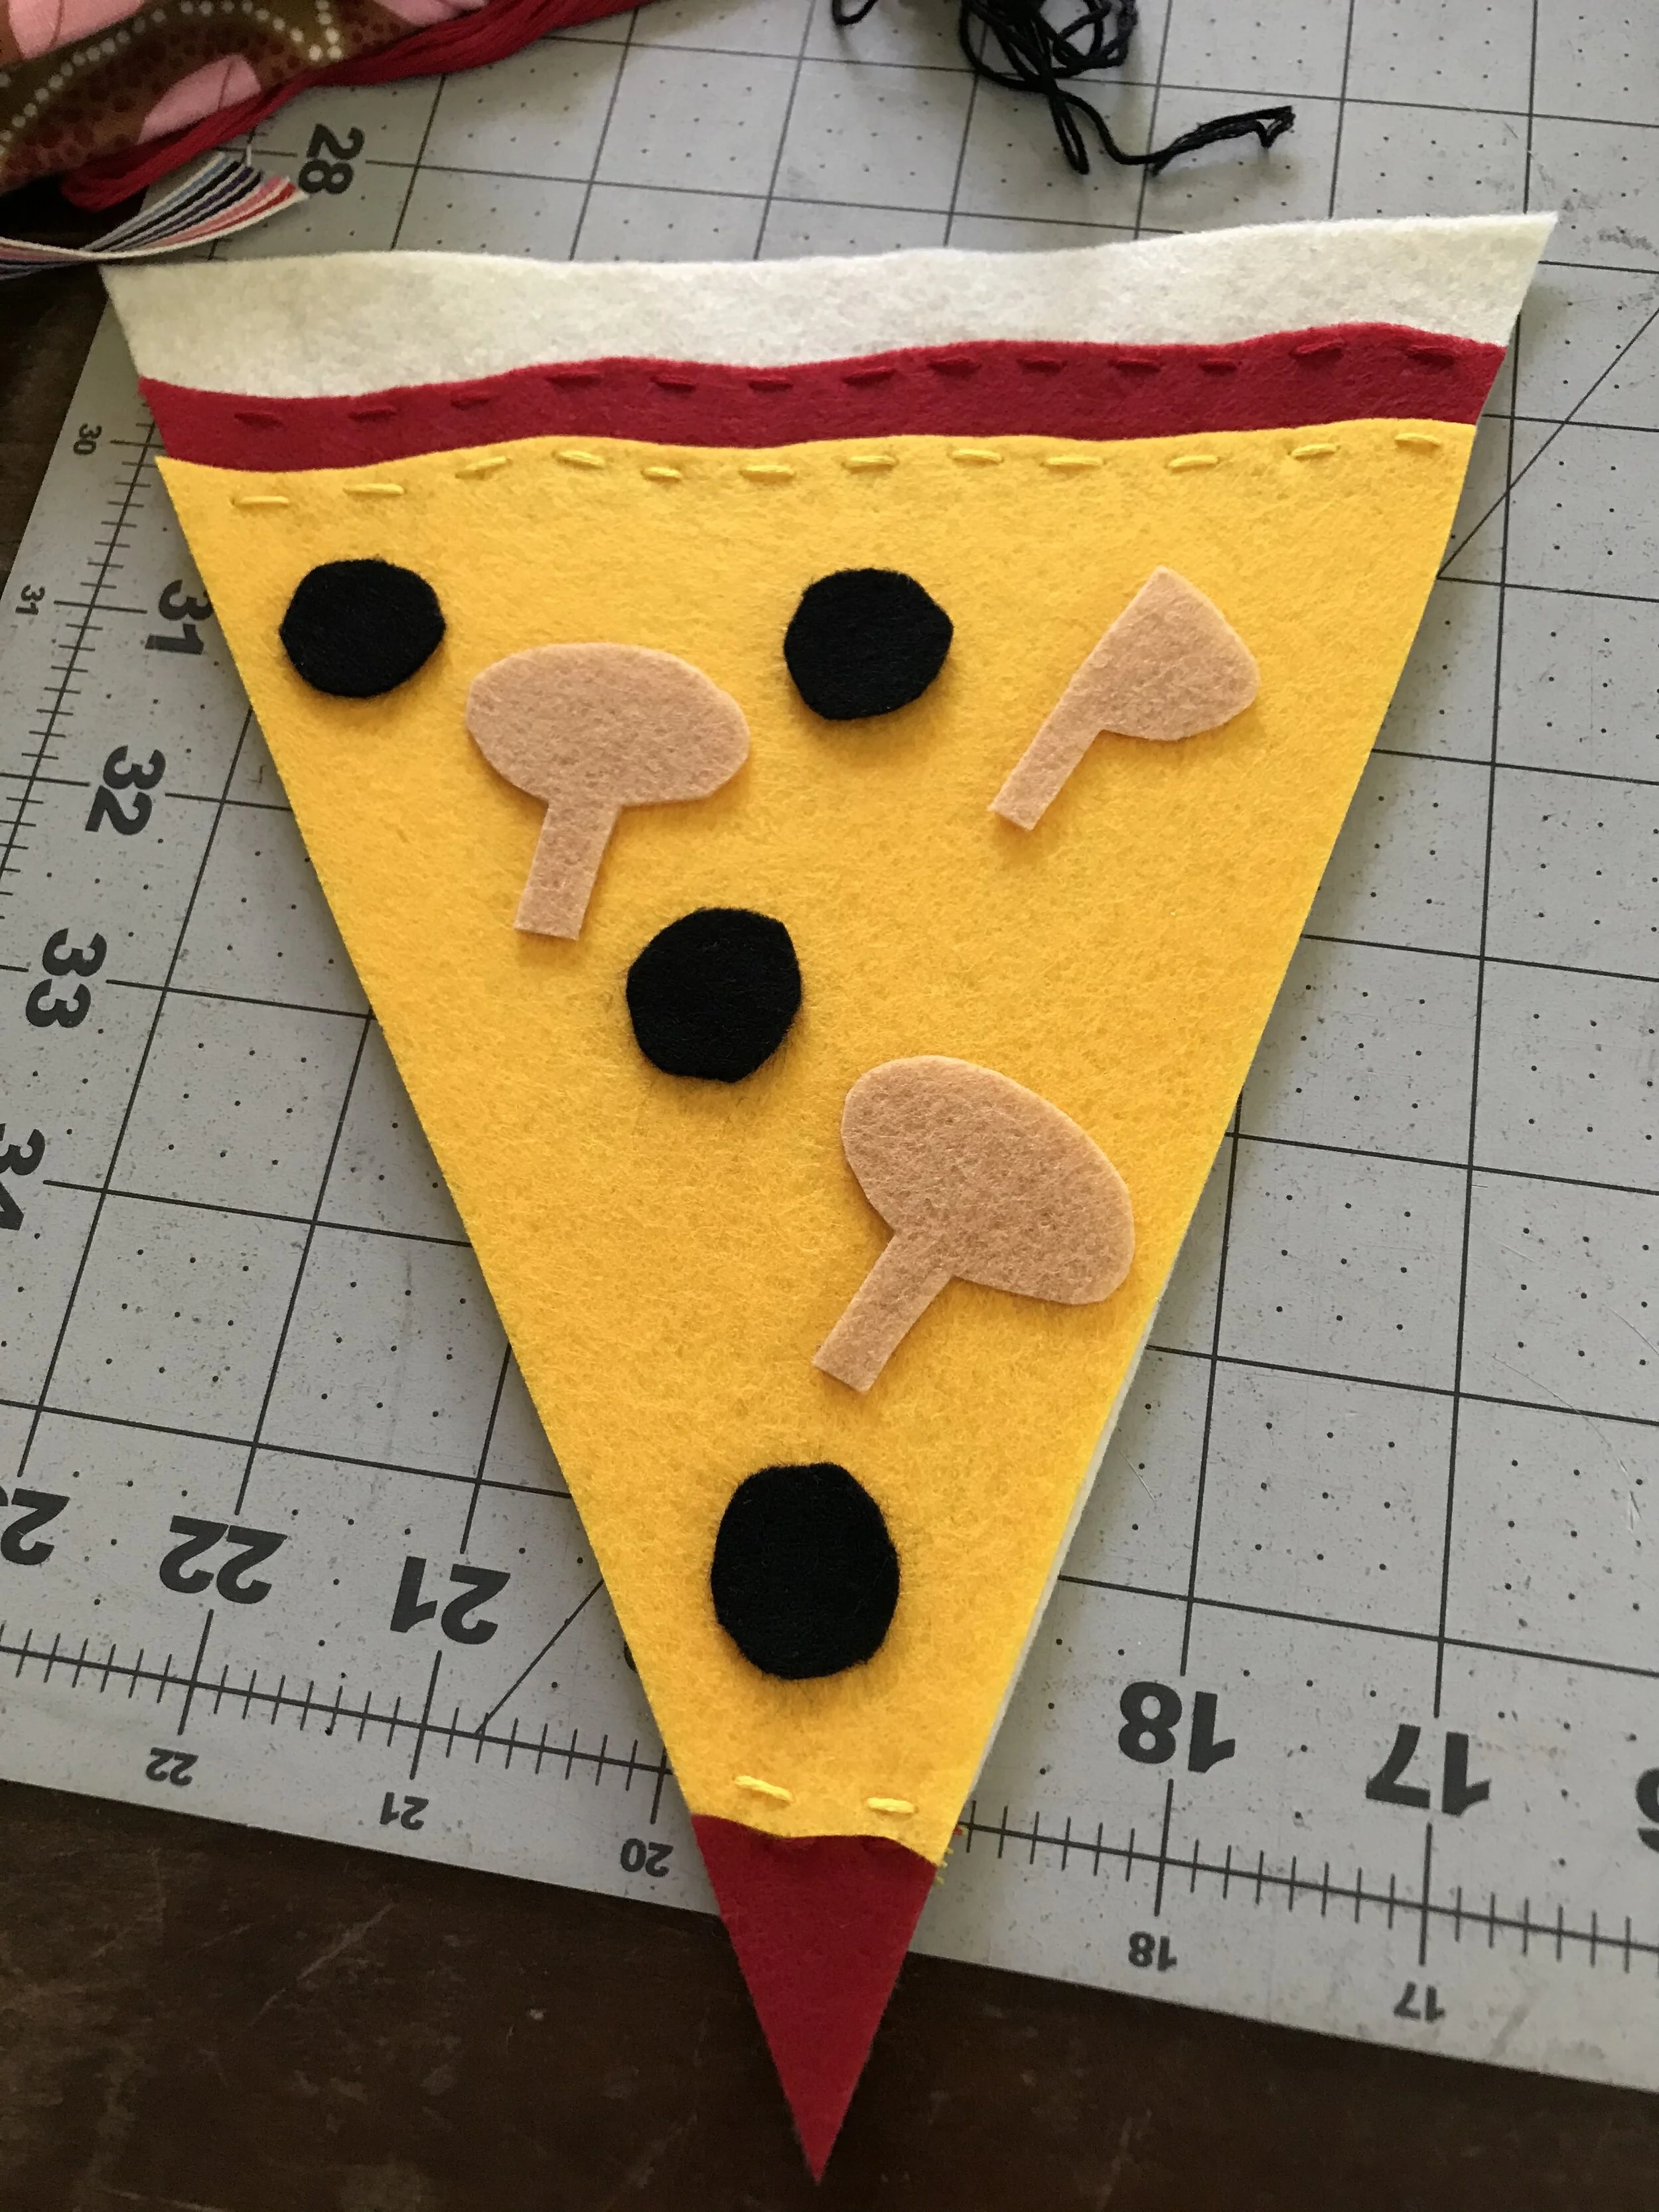
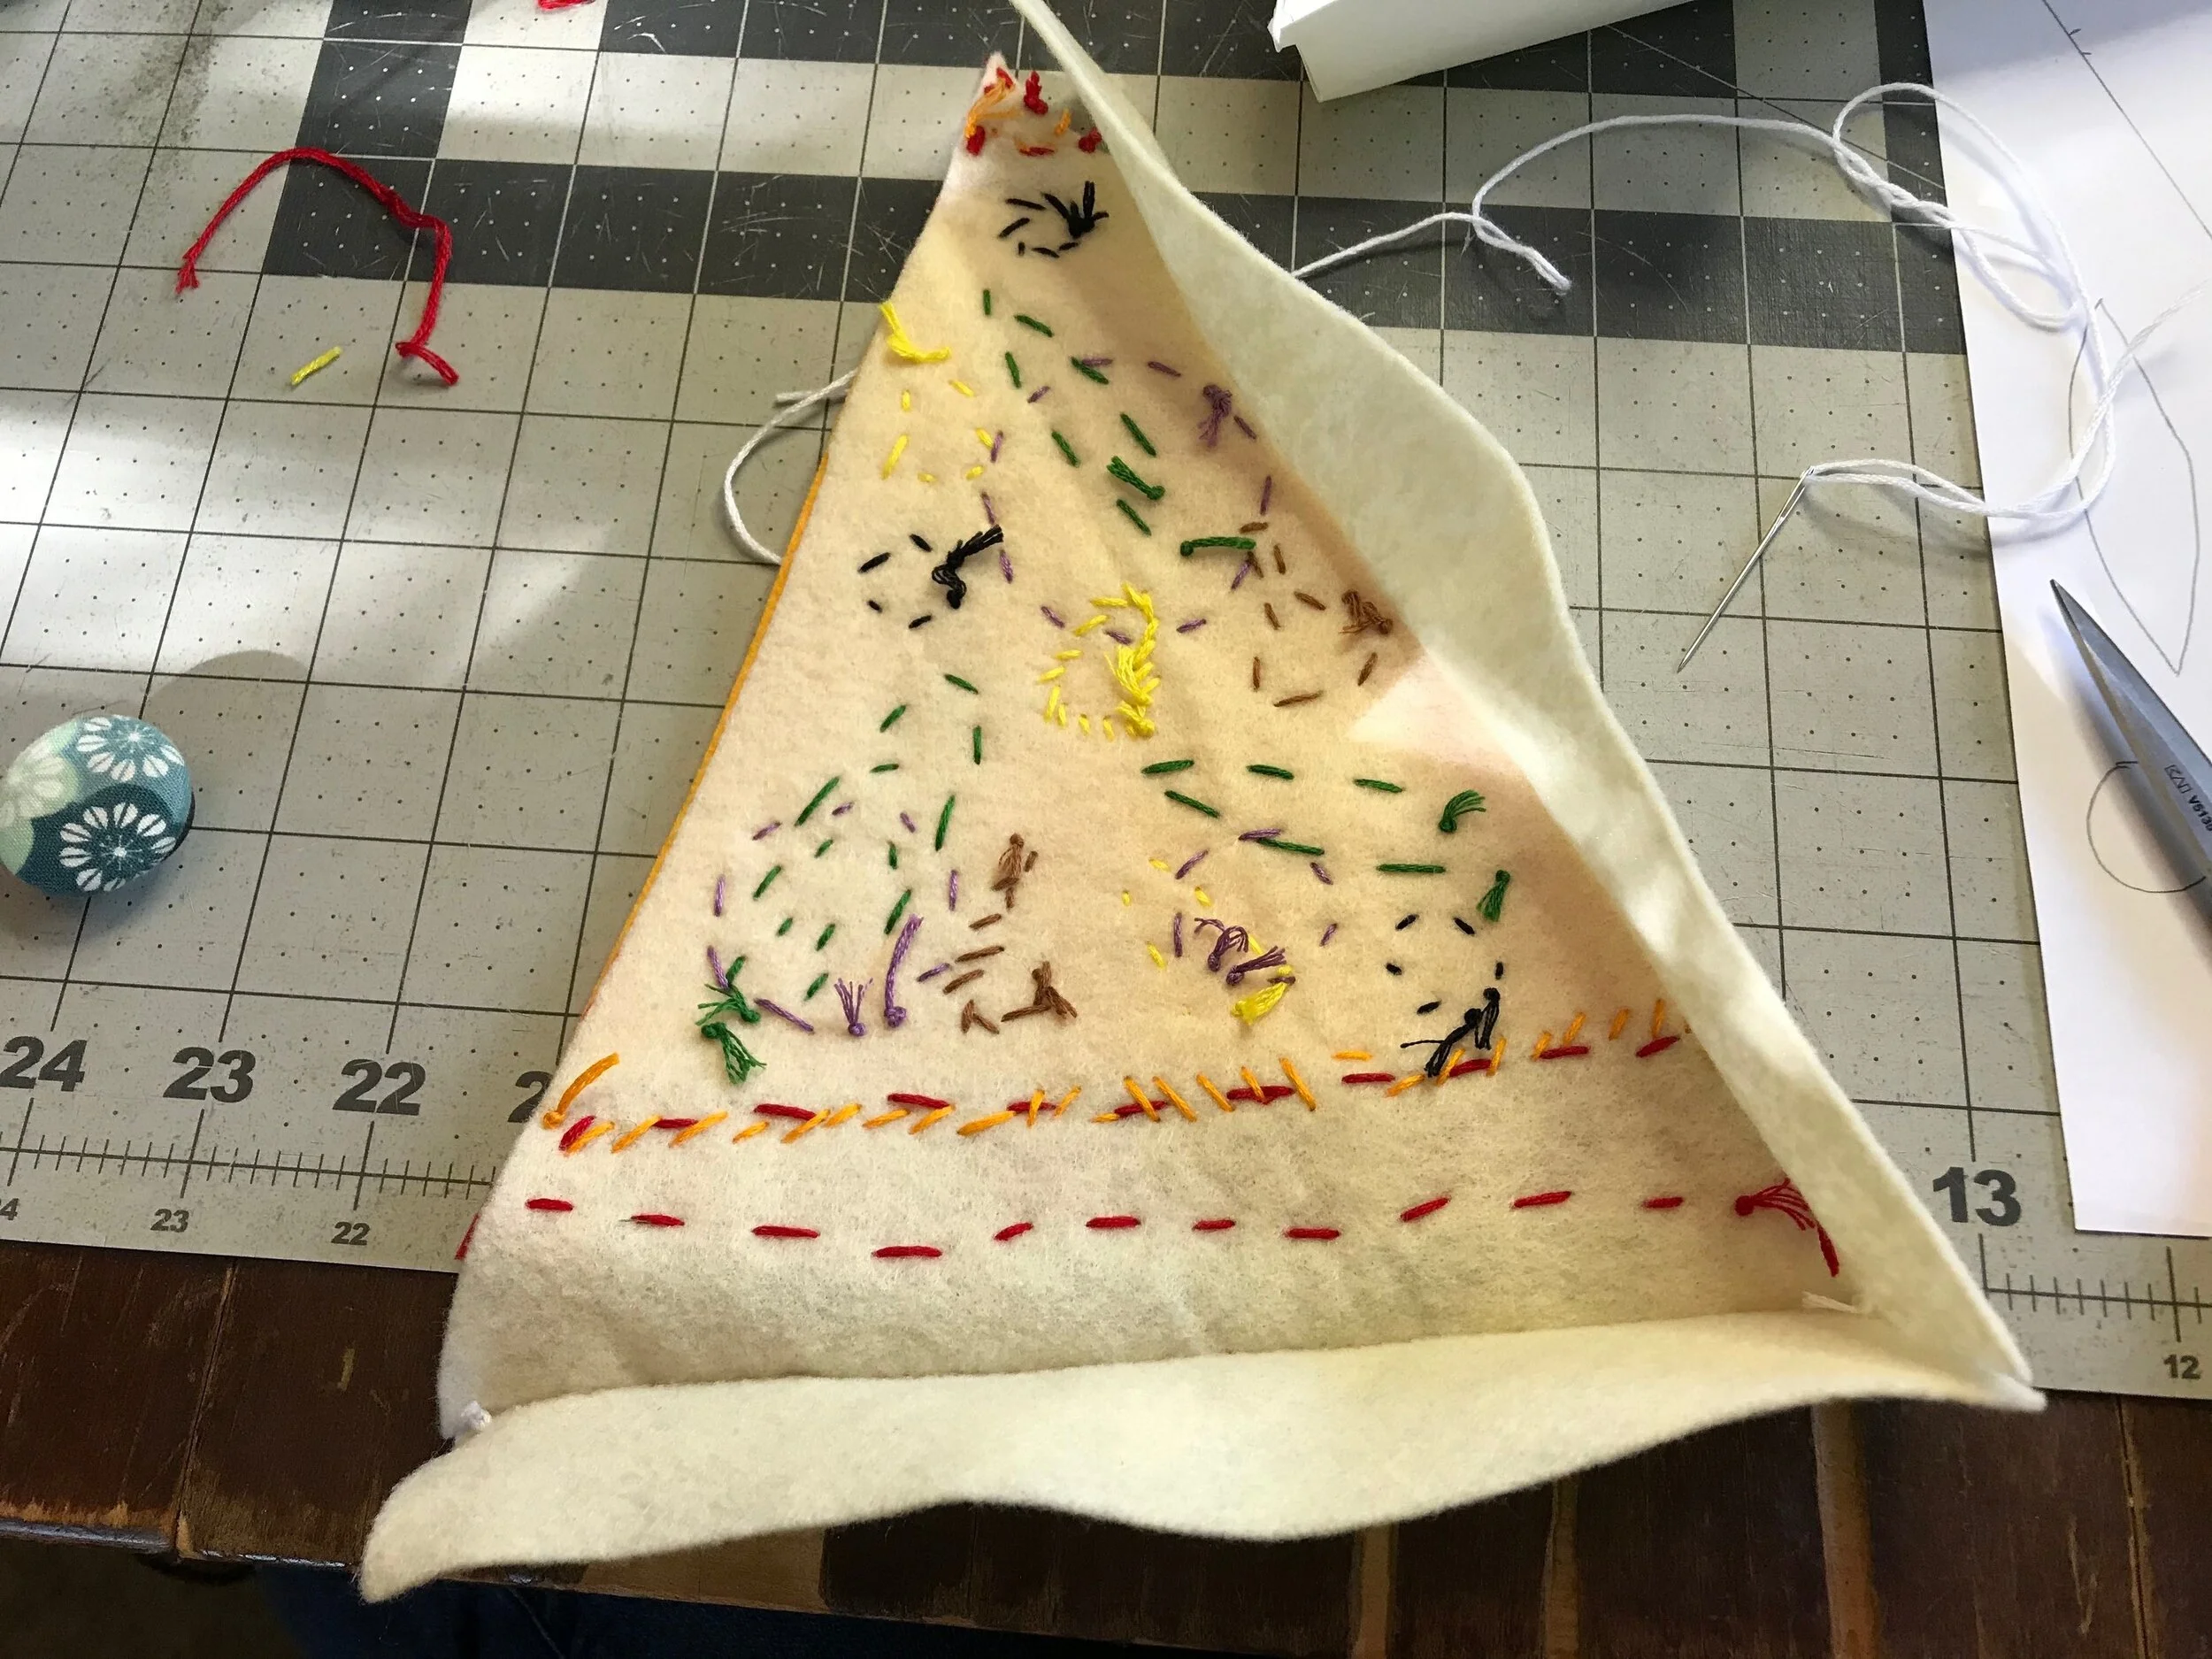
4. After your cheese and sauce have been sewn on, you can start sewing on your toppings! You can add as many as you want, or as few as you want. Sew on one topping at a time using whichever stitch you prefer. You can do some embroidery stitching to add garnishes/spices to your pizza. Have fun!

Don’t worry about what the back side of your top crust looks like; no one will see it when you’re done!
5. There are two options to putting your pizza slice together, deep-dish (more advanced) or thin crust (easier).
The thin crust version only needs the top and bottom crust pieces. For thin crust, place your crusts together back (wrong side) to back (wrong side) and stitch together along the edges with whatever stitch you prefer. Make sure to leave a 3 inch hole open on one of the long sides. Place your stuffing into this hole. I like to gently use a chopstick, eraser side of a pencil, or another long and skinny stick to help get your stuffing into the corners. Be very careful that you don’t push too hard! Once you have enough stuffing in your pizza piece, carefully stitch up the hole that you left open. It can be helpful to pin or clip the open edge to make stitching with stuffing easier.


The deep-dish pizza needs the back crust and two side crust pieces. Sew the top crust piece to the back crust and two side crust pieces. Go slowly, and do your best to line up the corners well. After you have the sides and back crust sewn to the top crust, you now need to sew the corners together. Again, go slowly. Finally, you can now sew the bottom crust piece to the rest of the pizza! Just like you sewed all of the crust pieces together before, do that with the bottom crust. Make sure to leave a 3 inch hole open on one of the long sides. Place your stuffing into this hole. I like to gently use a chopstick, eraser side of a pencil, or another long and skinny stick to help get your stuffing into the corners. Be very careful that you don’t push too hard! Once you have enough stuffing in your pizza piece, carefully stitch up the hole that you left open. It can be helpful to pin or clip the open edge to make stitching with stuffing easier.


6. You are done! Decorate your pizza box, and have a pizza party! Congratulations, you are a professional sewist and pizza maker!
